
Having had my first experience with an umbrella company, I can only say I am not impressed with my first choice, Brookson.
I am now on my eleventh week with Brookson, as an “employee” with an employment contract, weekly pay and holiday allowance.
Except I still haven’t been paid a penny!
Eleven weeks… The first 6 weeks I could barely find anyone to speak to at Brookson. When I did manage to get hold of anyone on the phone, I was always promised they would look into it and call me back, but nothing ever happened. And forget emailing them, despite promises on their website.
Eleven weeks without pay!
Someone did eventually start looking into the pay issue but gave up completely after a few weeks. As I have no prospect of getting paid by Brookson for my last couple of month’s work, not without legal intervention anyway, I will be leaving them.
And their legal team is away with the fairies. Despite my employment contract saying I will be paid at least monthly, and having no clauses attached to that, they insist that they are not in breach of contract. Did I mention eleven weeks without pay?
I also had someone call me who claimed that they were just a payroll company so had no duty to pay me or make sure I get paid. This is despite my only having a contract with them, no-one else, a contract that not only say “Employment contract” but also say that I will get paid.
Avoid at all cost.

-
Recent Posts
Recent Comments
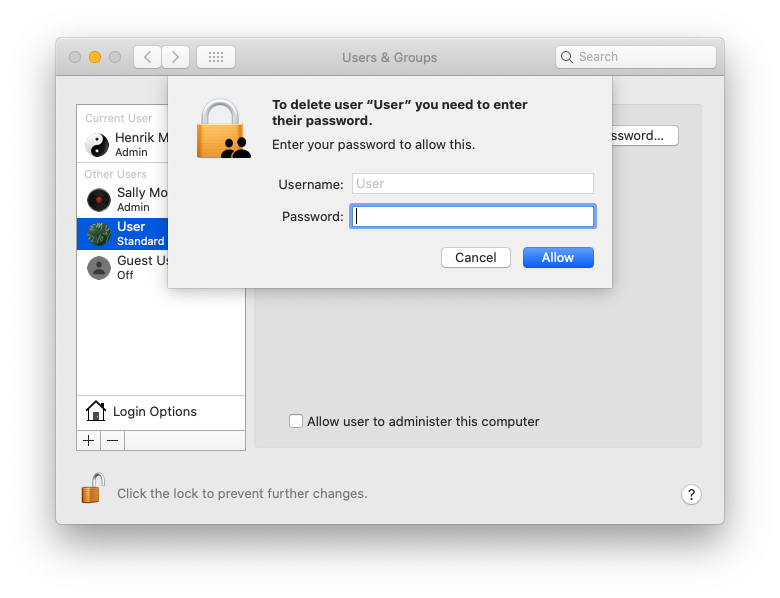
- Can’t delete a macOS user with dscl [resolution] – it.megocollector.com on When you “can’t” delete a user in MacOS
- morsing on Starting tactic script for CPU allocation calculations on POWER9/10
- morsing on Adding a Gmail account to your Mutt
- morsing on AIX IRC channel moving home
- morsing on AIX IRC channel moving home
Archives
- October 2023
- August 2023
- May 2023
- April 2023
- December 2022
- November 2022
- October 2022
- September 2022
- April 2022
- December 2021
- October 2021
- June 2021
- May 2021
- March 2021
- February 2021
- January 2021
- November 2020
- June 2020
- November 2019
- May 2019
- August 2017
- July 2017
- January 2016
- June 2013
- April 2013
- November 2012
- March 2012
Categories
Meta